Install Windows from USB via command line
Updated: May 31, 2022
Windows has been very famous for its sometimes "unfriendly" updates.
On a bi-weekly basis, the wheel of fortune is spinning and only the lucky ones are getting an improved system. The rest of us, are left with a corrupt copy of a once-functioning system and spend many hours, in my case days, trying to revert the trouble Microsoft got us into.
Very often, we can resolve it quite easily with the Automatic Repair troubleshooting options. However, sometimes the update is so malicious - that Windows must be reinstalled via USB or DVD disk.
To do so, we don't have to change UEFI/BIOS settings - we can simply access the setup file from the Command Line even in the most extreme situations!
I had the pleasure of dealing with this type of situation in the past few days and given all the white hairs and micro heart attacks I've been getting as a result - I must share my solution with the world to save other folks from the same fate!
WHAT EXACTLY HAPPENED?
I've put my computer in sleep mode and went to sleep myself. In the morning, I woke up to a black screen and nothing more.
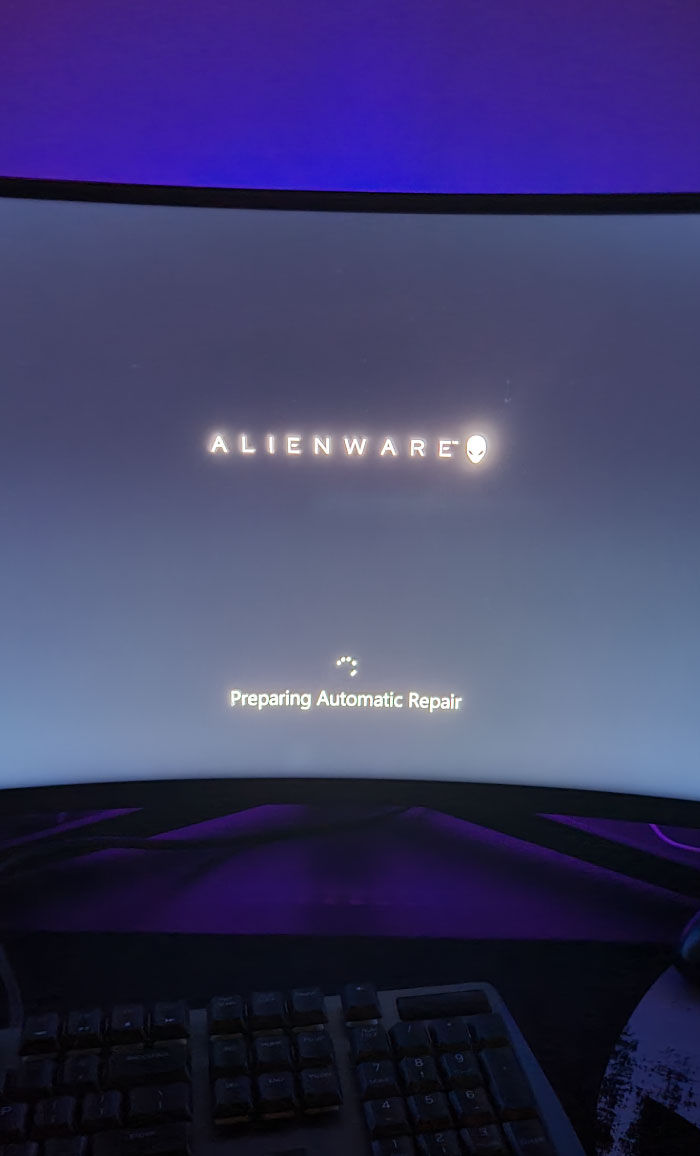
Right away, I triggered the "Automatic Repair Options" tool by turning-off the computer as soon as the brand logo appeared (you may need to repeat this process several times until you see a "Preparing Automatic Repair" message appear. Please refer to the image above to see an example).
From here, the situation got increasingly worse! and while at first some troubleshooting options were available to me - shortly after I was NOT ABLE TO:
Startup Repair
Uninstall Updates
Startup Settings (Including Safe Mode!😱)
Command Prompt
System Restore
System Image Recovery
Each of these options would either fail, or would present me with a message:
"You need to sign in as administrator to continue, but there aren't any administrator accounts on this PC". Fantastic!
Not to even mention the horror of booting my Windows installation USB from the UEFI and receiving a bright red "Secure Boot Violation" message in return.
If you ran into the same issues - STAY CALM! it's not the end of your computer's life, you can save it by following the next steps carefully:
STEP 1. Create Windows 10 Installation Media USB
Please note, If you do not have a backup computer with Windows - I highly recommend contacting a friend or family member who has a Windows system installed on his end. Otherwise this process will be very tormenting with a MAC or Linux device.
Why? You would have to split install.wim into 2 files with Homebrew, as it exceeds the size limit of FAT-32 files, which is not a fun process!
However, if you'd like to find out more about it - I was able to split the file with my MAC laptop by following these instructions.
In case you have an extra Windows computer handy - move on with the following:
Download Media Creation Tool from:

Insert a clean USB flash drive with over 8GB of space into your computer:
First, ensure the USB is formatted as FAT-32 with a right-click on the USB drive in File Explorer. Then click on format, select the same settings as in the screenshot below, and finally click start to format your USB drive.
Please note, this will remove all the information it previously stored on that drive.


Open Media Installation Wizard and save files to USB:
After you've formatted your USB drive, it's time to install the Windows media on it.
Please follow the steps in the screenshots below for a successful installation:


Once your wizard finished installing - you can remove the USB drive from the extra computer and plug it in to the computer with the corrupt Windows OS.
STEP 2: Force Command Prompt to open
Turn on your computer and press Shift + F10 to open Command Prompt like a pro!
This will force your command prompt to open, even if you don't have an administrator account set up!
STEP 3: Search Drive with diskpart
Inside your command prompt, type: diskpart

this will open diskpart, which is a tool that helps you manage your computers' drives.
You can find more information about it here.
We'll use it to find out the letter name the USB drive (for example E: or F:), as it would vary from one computer to another.
Next, we'll type list disk to see all the available drives, and based on the size of your USB you can determine which of the disks is the correct one. Very often, your USB would be under Disk 2, however - always double-check if it's matching in terms of size!

My USB is indeed under Disk 2, however we still can't see it's letter name.
To view it, we'll select the disk with: select disk 2

Followed by another command: detail disk
which would finally present you with the letter name of your disk under Ltr:

In my case, my disk is called E:, but you might get a different letter on your end, depending on how many HDDs or SSDs your computer has.
Once we know the exact letter we need to target - close diskpart with: CNTRL + C.
STEP 4: Access Setup file with Command Prompt
Once our root changes back to C:\Windows\System32 we can proceed with navigating to our setup.exe file inside our USB drive.
Please note, on my screenshots you see a different root address (C:\Users\Mariya) because I'm recreating these steps after my Windows is already installed. Since your windows is not installed yet, your root folder will be different from mine.
We will navigate to our E drive by typing e:
Then, you can access your Windows setup by typing setup.exe

These 2 commands will open the setup wizard inside your USB drive and your Windows will begin its installation!
congratulations!
But what If I have Additional Errors?
Another not-so-common (but very very stressful) error is: "The computer restarted unexpectedly or encountered an unexpected error. Windows Installation cannot proceed..."

When you see this error - your computer is in a loop that prevents it from restarting, no matter how many times you'll be pressing "ok".
Luckily, I found an answer in the Microsoft forums that helped me solve this:
I thought it would be a great idea to expand this answer and accommodate it with some screenshots, however - feel free to follow the instructions in the link above, as I'm not the one who came up with this solution. I'm only making it a bit more accessible and easy to follow.
Fix This Error:
This error can also be fixed with Command Prompt! We'll trigger it with Shift + F10 and type the following inside the terminal: regedit

This will present us with our Registry Editor

Then we will navigate to:
HKEY_LOCAL_MACHINE → SYSTEM → Setup → Status → ChildCompletion
And once we are in the correct folder, we will double-click on setup.exe

Then, in the pop-up menu, inside the Value data section: change 1 to 3 and click "OK".
And that's it! problem solved! You can exit the Registry and proceed with your Windows installation as you would normally do!

I really hope some of you will find this information helpful!
Thank you for reading and Good Luck with your installation!

Thank you, this helped a lot
Successfully installed Windows 11 using the command line. Just converted my MBR partition to GPT disk using diskpart. And bypassed the requirement for TPM. As my PC don't have one. This article helped me to grasp the technical aspects. And now enjoying Windows 11. On an UNSUPPORTED hardware.
Thank you for the detailed explanation and showing the steps required for completion.✅
WOW this is really some detailed and useful information! thank you for taking the time to put this together! I'm going to save a link to this page in my backup directory I keep on my NAS for just in case! In the past I've always edited the bios to make the usb first boot - save and restart booting the install media of course. EZ PZ. In the old windows 98 days I would run fdisk and format the disk from the command line and THEN run the instillation media. All that was the easy part compared to the next 6 hours of updates and tracking down drivers for everything lol not to mention re-installing and re-configuring a bazillion…
I didn't encounter that kind of problem by once I noticed the installation requires a backup copy in order to complete and I'd stuck there.
Thought about the possible solution.